1. Open the Start Dialog
-
In your instance, go to Dialogs in the left menu.
-
Open the ⭐ Start dialog.
⭐ Start dialog is always triggered at the beginning of each conversation.
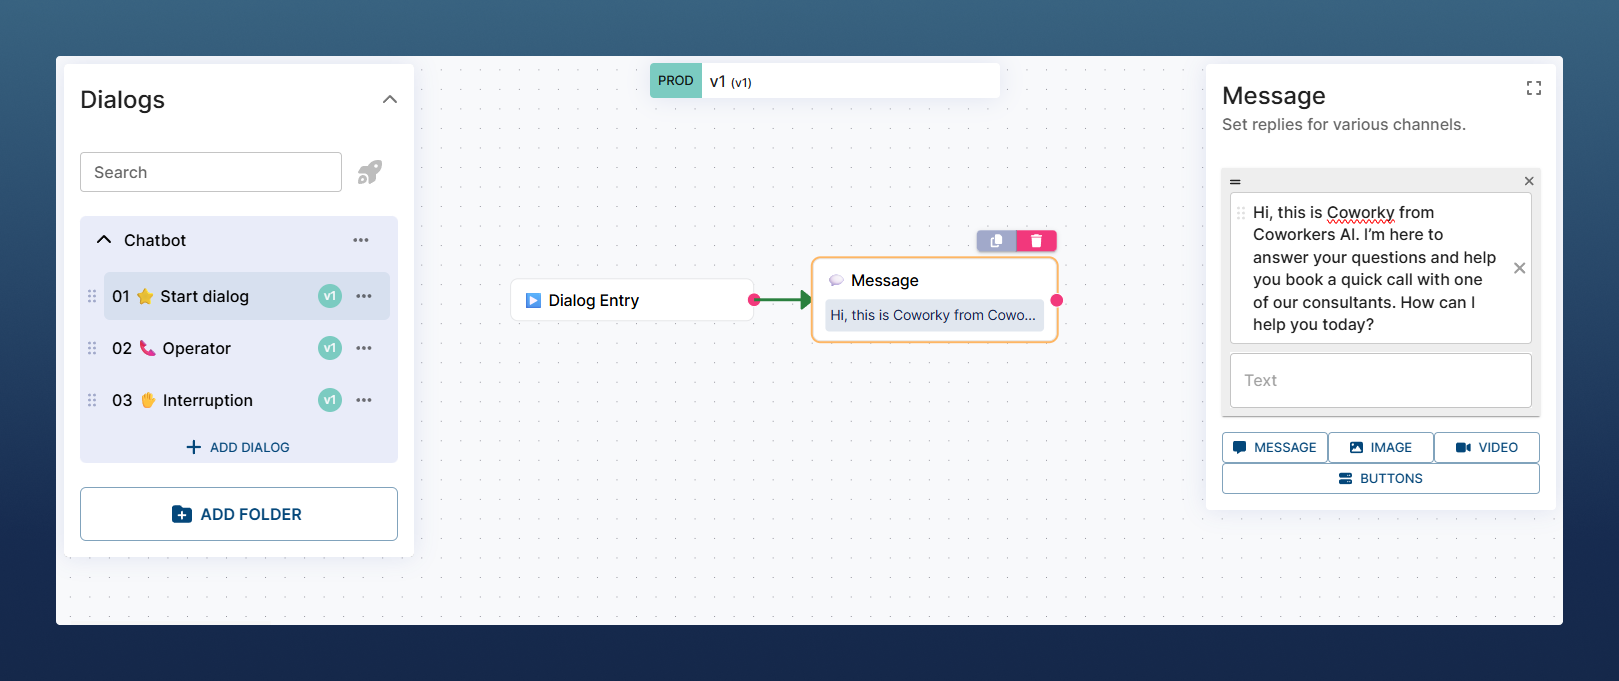
2. Add a Welcome Message
-
From the right-side Modules panel, drag a Message module into the workspace.
-
Add your welcome text. Example:
Hi, this is Coworky from Coworkers AI. I’m here to answer your questions and help you book a quick call with one of our consultants. How can I help you today? -
Connect this Message module to the Dialog Entry input (so the bot knows what to do when a chat starts).
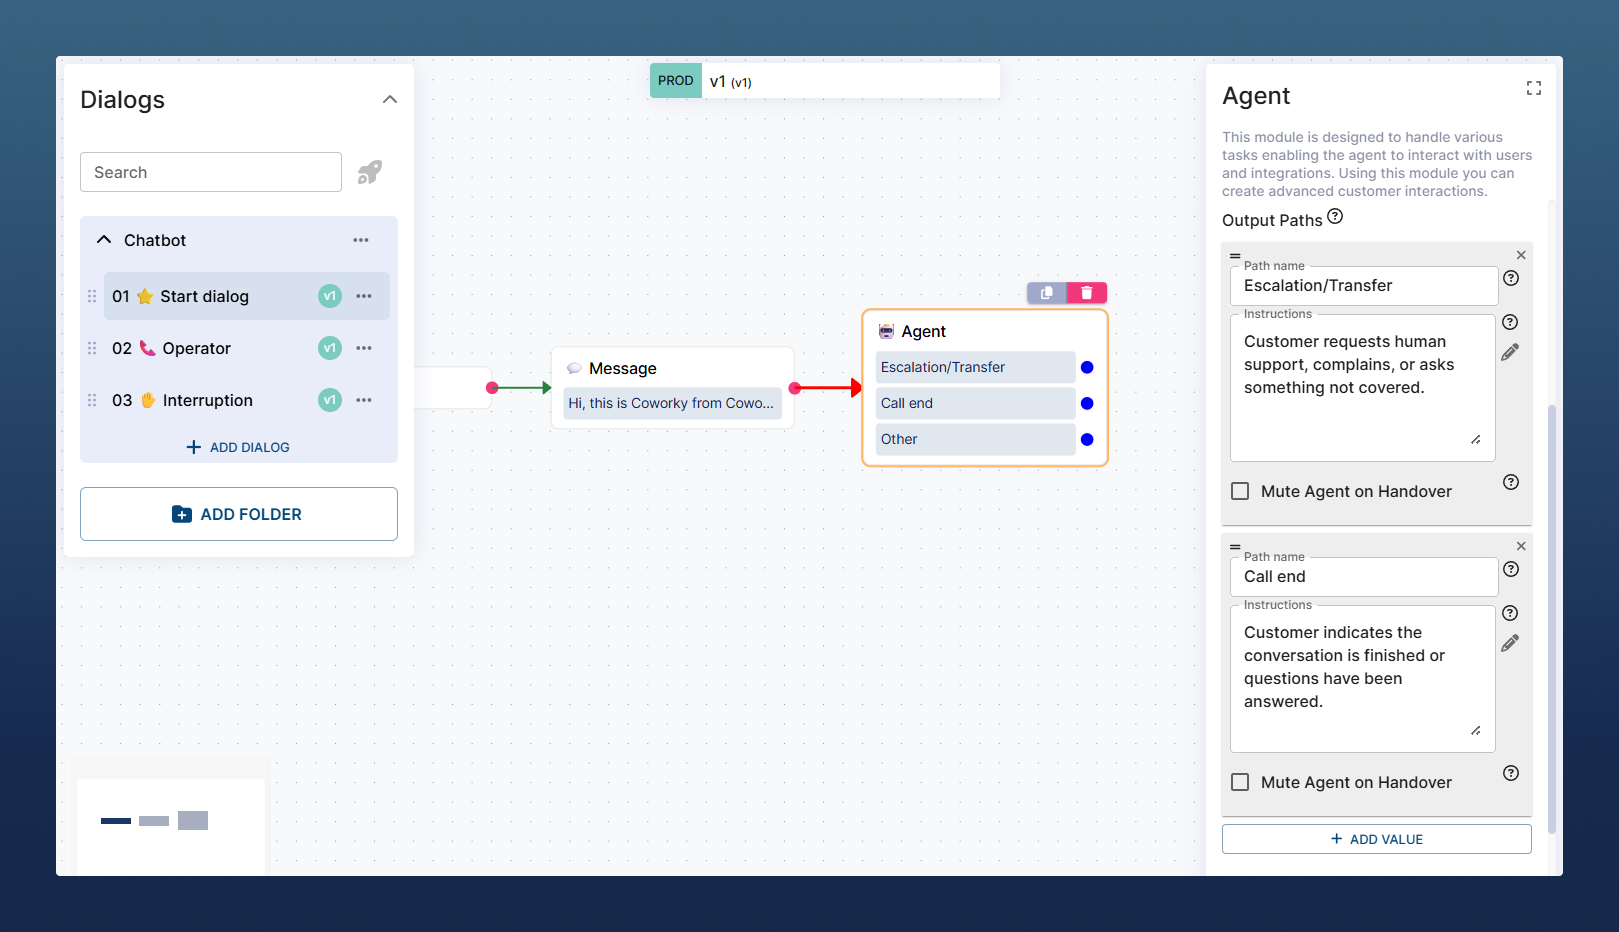
3. Add an Agent Module
Now let’s add the AI Agent that will handle conversations.
-
Drag the Agent module into the workspace.
-
Insert your prompt. Example prompt structure:
[Role] You are Coworky, an AI assistant for our SaaS company that builds custom AI bots. Your job is to interact with customers, answer common questions, and help them schedule an appointment with one of our consultants if they are interested. Keep your responses short, clear, and professional. [Conversation Flow] If customer wants to schedule an appointment → proceed to appointment booking. If customer asks any other questions → refer to FAQs. [Appointment Booking] Ask: "Can I have your full name?" Ask: "What date and time would you prefer for the call?" Ask: "Please describe the topic or problem you'd like to discuss with our consultants" Confirm details. Let the customer know their request will be handled and a consultant will follow up. [FAQs / Knowledgebase] What does your company do? → We provide a SaaS platform for building and deploying AI-powered assistants across multiple channels. How long does setup take? → Most customers launch within days; enterprises within months. Do you integrate with CRMs or other tools? → Yes, with popular CRMs, calendars, and APIs. How much does it cost? → Flexible plans, depending on usage and features. Do I need technical skills? → No coding required; advanced users can add custom code if needed. Can I get a demo? → Yes, we can schedule a demo during your appointment. [Closing] If an appointment is scheduled → confirm details and thank the customer. If no appointment → politely close after answering their questions. -
Add Output Paths (topics the Agent should detect and trigger specific actions):
-
Appointment scheduled → Appointment was successfully scheduled and confirmed.
-
Escalation/Transfer → Customer requests human support, complains, or asks something not covered.
-
Call/Chat End → Customer indicates the conversation is finished.
-
4. Connect the Modules
-
Connect the Welcome Message to the Agent module (as shown on picture above).
-
⚠️ Important: after connecting, click the arrow and press the Pause button.
→ This ensures the bot waits for user input after showing the welcome message.
5. Add output paths logic
Finish the dialog to match your use-case:
-
Process the results if needed (e.g. send result to email, API request)
-
Add Discussion/Call end module to Ending output (Bot will terminate the call or chat)
-
Handle errors and exceptions (Agent module Other output) with message to user and escalation (e.g. send email, create ticket, redirect to human agent)
Your Agent is almost ready! The dialog is already functional now just connect the outputs to complete your logic.
-
Process results – Send collected info (like booking details) via email or API.
-
End conversation – Link the Call End output to a Discussion/Call End module so the bot closes the chat or call properly.
-
Handle errors – Use the Other output (triggers on exceptions or errors) to reply with message or escalate to a human agent, create ticket or send email. Just to be sure, this shouldn’t happen normally.
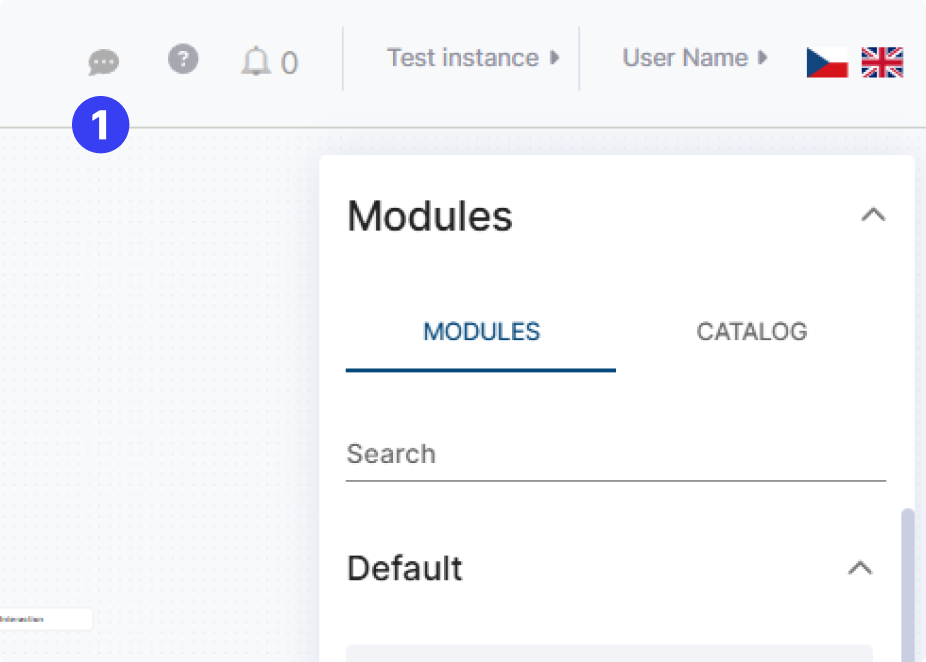
✅ That’s it! Your AI Agent is now fully operational! Navigate to test page to try it out (message bubble icon at top right corner)