
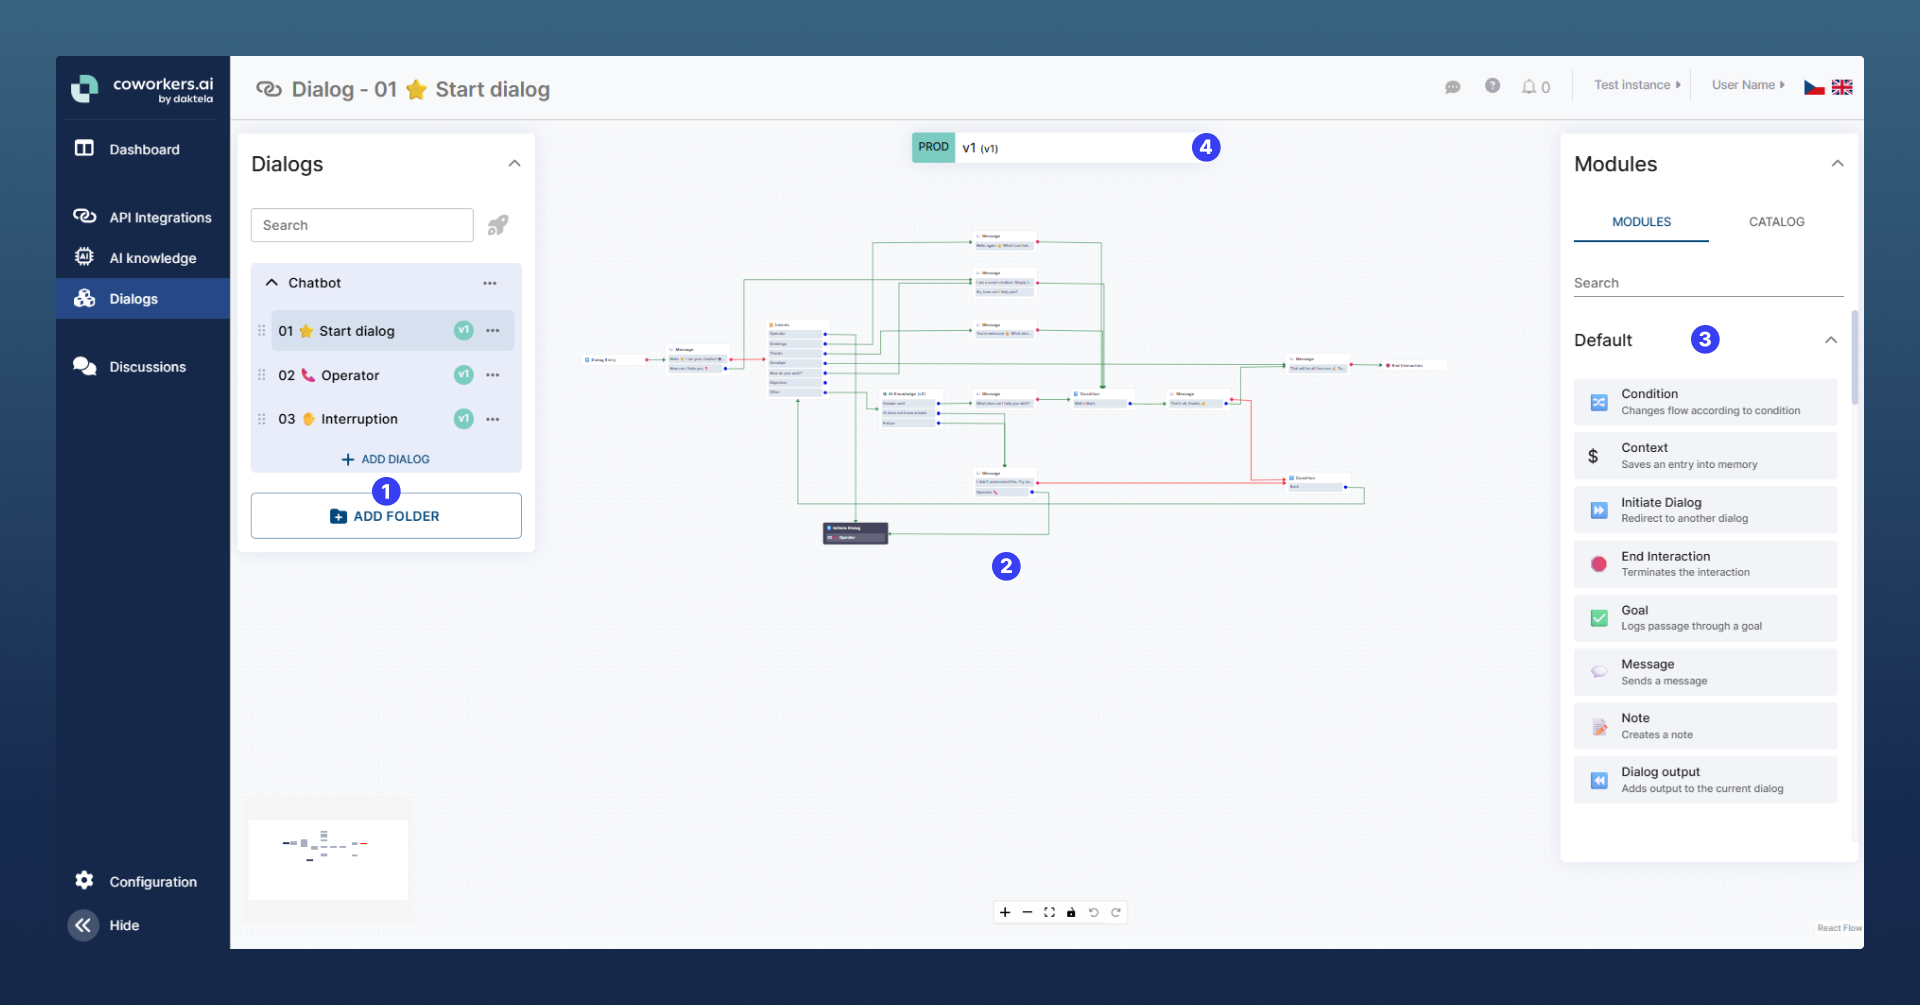
1️⃣ Dialog List (Left Panel)
You’ll find a few default dialogs already created. Important ones:
-
Start dialog
This one is always triggered at the start of any new conversation. Applies to each channel (Voice/Chat/Mail). -
Interruptions
Used for handling system errors (like timeouts, or infinite loops), fallback cases (like silence in Voicebot), or confusion (bot is unable to decide how to continue).
You can add more dialogs with the ➕Add Dialog button and organize them into folders. New folders can be created using the 📁Add Folder button. Dialogs can be moved into different folders by clicking the ⋯ button.
While, technically, your whole bot can exist in one dialog, splitting the logic into smaller reusable dialogs helps with clarity and maintainability.
Reusable dialogs: Common flows, like verifying the user’s identity or getting an order number, can be used in multiple parts of your bot’s overall dialog flow. Creating them as standalone dialogs allows you to manage the logic in one place and reuse it wherever needed.
2️⃣ Dialog Canvas (Middle Area)
This large area in the middle is where you design the flow by adding modules and connecting them together. Each module is a single functional block (e.g., send a message, detect an intent, store a value, …).
3️⃣ Modules Panel (Right Side)
Here, you can search or browse modules and drag them into the dialog canvas. The most used modules (Message, Condition, End Interaction, …) are at the top.
4️⃣ Versioning
You can create multiple versions of a dialog. One version is always marked as Production, while others can be Drafts or a dialog used for Testing. This is useful when improving or modifying to your bot without affecting live users.
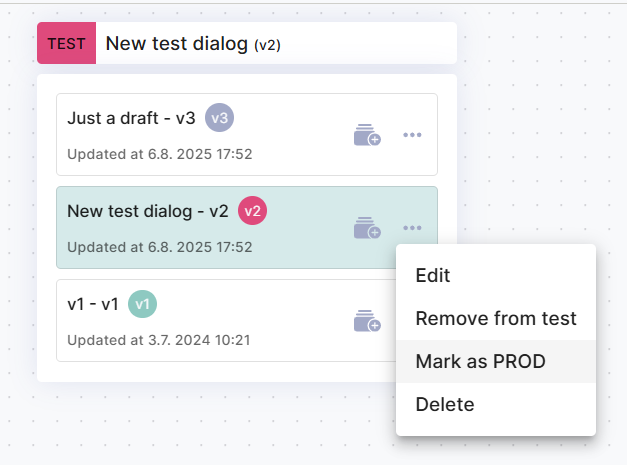
To create a copy of your dialog, click on the name of the dialog version (e.g., PROD v1 (v1)). A list of all available dialog versions for this specific dialog will appear. Click the “📁+” button by the version you wish to duplicate, name it, then click Save. Your view will switch to the new duplicated dialog. The Test dialog and Drafts are not accessible by end users.
Clicking the ⋯ button opens up several options:
-
Edit - edit the dialog name or the optional description.
-
Remove from test - change the Test dialog to a Draft dialog. It will not be accessed during testing anymore.
-
Mark as PROD - change the dialog to the Production dialog with immediate effect. This will become your main dialog accessible by end users.
-
Mark as TEST - change a Draft dialog to the Test dialog. It will now be accessed during dialog testing.
-
Delete - delete this dialog. Not available for the Production dialog.
See https://coworkersai.atlassian.net/wiki/x/h4DXCQ for further info on how to test your dialogs both before and after going live.