
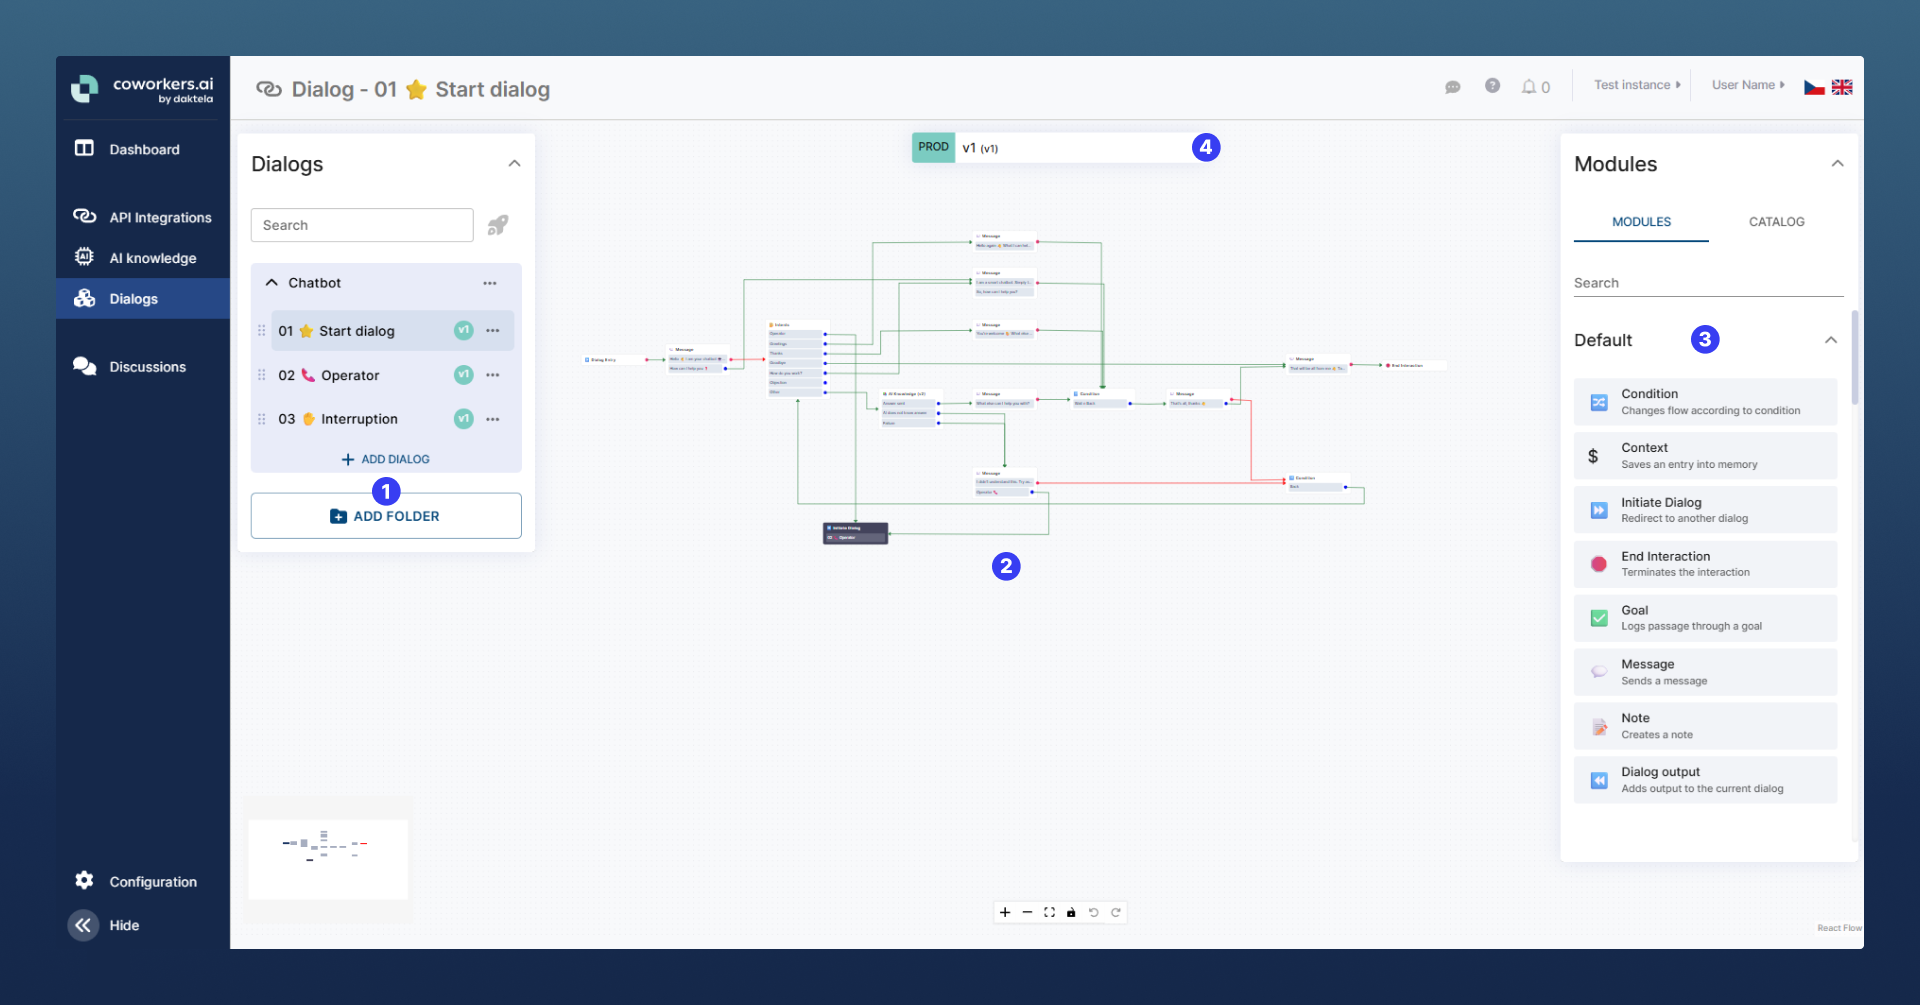
The Dialogs section is where you'll design your bot's behavior. Using a visual editor you can add and connect modules that define how your bot understands and responds to users.
Learn more about Dialogs in the dedicated docs section → 🔀 Dialogs
Building Your First Dialog
Now let’s design a simple conversation. This won’t use any AI yet, just a static, rule-based flow to get familiar with how dialogs work.
1. Create a New Dialog
-
Click + Add Folder and name it, e.g.,
Test Dialogs -
In the created folder click + Add Dialog and name it, e.g.,
My Test Dialog -
Open the dialog
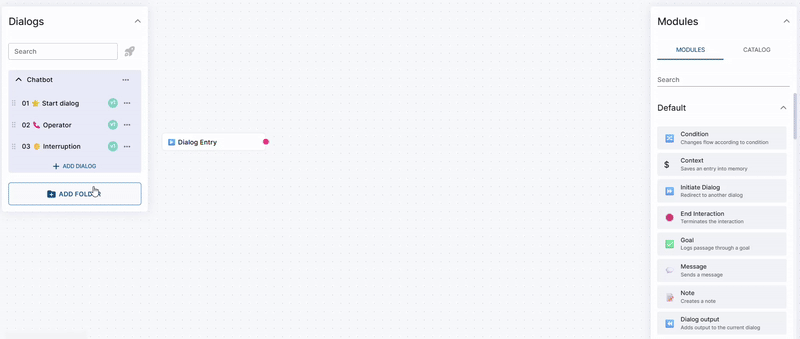
2. Add Modules
We’ll create a basic welcome message with a few buttons and replies.
-
Drag a few Message modules and drop them onto the canvas.
-
Write a message into the Message module and/or add and name some buttons.
-
For each message or button (red or blue dots), connect a new Message module with a short reply.
-
Loop each response back to the first message to restart the flow.
-
Tip: You can double click anywhere on an arrow to bend or move it.
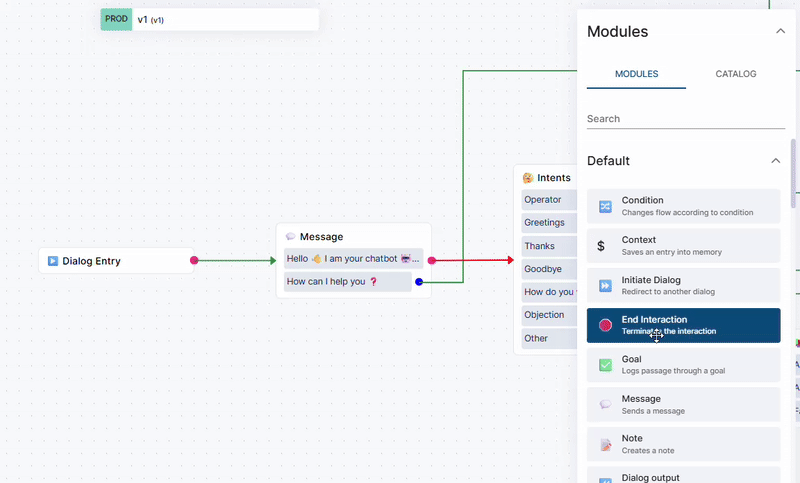
3. Link This Dialog to Start
To make your new dialog run at the beginning of every conversation:
-
Open the Start dialog (a system dialog that launches at the start of each discussion).
-
Drag and drop an Initiate Dialog module and connect it to the Dialog Entry module.
-
Click the new Initiate Dialog module to open settings and select your new dialog from the list.
4. Test It
Let’s try it out!
-
Click the Test button from the top-right toolbar (the text bubble 💬 icon)
-
Interact with your dialog to see how it behaves.
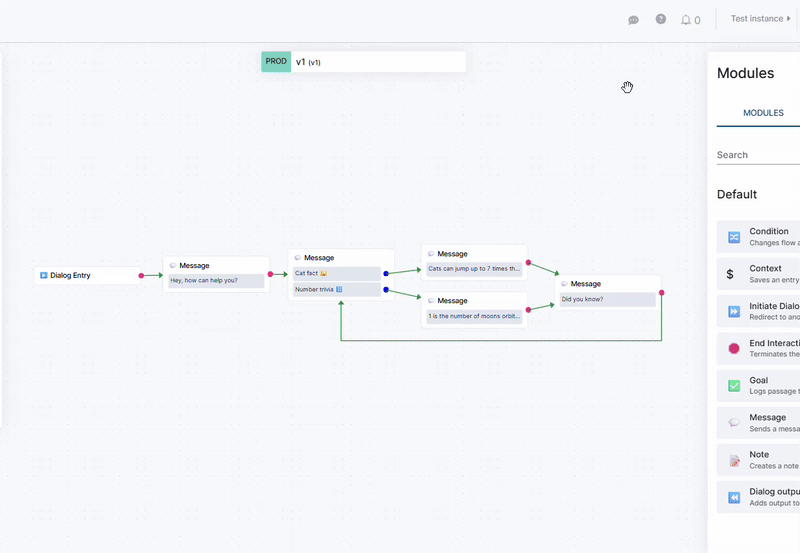
In this chapter, we built a simple static dialog. While basic, this type of logic is great for creating greeting menus or guiding users through common questions and actions.
In the next step, we’ll go beyond buttons and learn how to make your bot truly understand what the user is saying using LLM AI powered intent detection and generative LLM responses. 🤖